The Most Efficient Way to Install Recessed Lighting
Brighten Your Space: A Comprehensive Guide to Installing Recessed Lighting in the USA
Recessed lighting, also known as can lights, has become a popular choice for homeowners across the USA due to its versatility, clean aesthetics, and ability to create even illumination. Whether you're renovating your kitchen, adding ambiance to your living room, or simply upgrading your outdated lighting fixtures, recessed lights offer a stylish and functional solution.

However, installing recessed lighting can seem like a daunting task, especially for DIY enthusiasts. This comprehensive guide will walk you through the entire process, from planning and choosing the right materials to installation and safety considerations. By following these steps and adhering to local building codes, you can confidently achieve professional-looking recessed lighting in your home.
Planning and Preparation:
Before diving into the installation process, meticulous planning is crucial for a successful and safe outcome. Here's what you need to consider:

1. Define your lighting goals:
- Task lighting: Focuses on illuminating specific areas for activities like cooking, reading, or working.
- Ambient lighting: Provides general illumination throughout the room.
- Accent lighting: Highlights specific features or artwork.
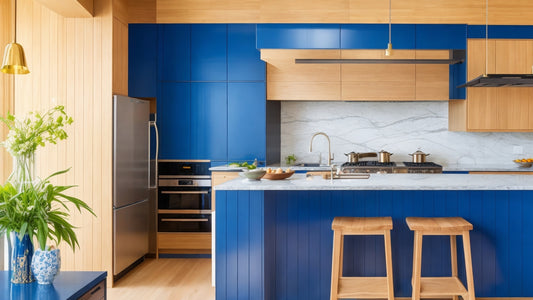
RELATED: 10 Tips to Spruce Up Your Living Room with Accent Lights
2. Choose the right type of recessed lighting:

- Can size: Consider the size of the room and desired light output. Common sizes include 4", 6", and 8" cans.
- Trim style: Choose from various styles like baffle, reflector, or adjustable to complement your décor.
- Housing type: Select IC-rated if insulation will be in direct contact with the housing.
- Light source: Opt for energy-efficient LED bulbs for optimal performance and longevity.
3. Determine the number and placement of lights:
- Use online lighting calculators or consult a professional for guidance on the optimal number of lights based on your room size and desired light level.
- Ensure proper spacing between lights, typically 2-3 times the can diameter.
- Avoid placing lights too close to walls or furniture.
- Use a stud finder to locate joists and avoid drilling into them.
- Mark the locations of the lights on the ceiling with a pencil.
4. Gather the necessary tools and materials:


- Drill with hole saw attachment (size matching your chosen can diameter)
- Stud finder
- Level
- Safety glasses and gloves
- Wire strippers
- Electrical tape
- Wire nuts
- Romex cable (appropriate gauge for your circuit)
- Recessed lighting cans with trims
- Light bulbs
Installation Process:
1. Turn off the power:
Safety is paramount. Locate the circuit breaker controlling the room you're working in and turn it off completely. Double-check with a voltage tester to ensure no power is present before proceeding.
2. Cut the holes:

- Use the stud finder to mark joist locations and avoid drilling into them.

- Place the hole saw attachment on the drill and align it with the marked location on the ceiling.
- Drill slowly and carefully, maintaining a level position.
- Wear safety glasses and dust mask to protect yourself from debris.
3. Run the wiring:
- New construction: If installing in a new construction, you'll have more flexibility for running wires. Consult a qualified electrician for proper wiring practices.


- Existing construction: In existing structures, access to the ceiling cavity might be limited. You can explore options like using existing fixtures or running the wires through the attic (if accessible) or crawl space. Always adhere to local building codes and electrical safety regulations.
4. Connect the wires:

- Open the junction box of the recessed light can.
- Strip the ends of the Romex cable using wire strippers.

- Connect the corresponding wires using wire nuts: black to black (hot), white to white (neutral), and bare copper or green to bare copper (ground). Ensure secure connections and tuck the wires neatly into the junction box.
- Repeat this process for each light fixture.
5. Install the lights:

- Push the recessed light can carefully into the hole in the ceiling.
- Most cans have spring-loaded clips that secure them to the drywall. Adjust the clips as needed for a tight fit.

- Attach the desired trim ring to the can according to the manufacturer's instructions.

- Screw in the chosen light bulbs.
6. Restore power and test:
- Turn the circuit breaker back on.
- Turn on the switch controlling the recessed lights to ensure they function properly.
Additional Tips and Considerations:
- Consult a qualified electrician: If you're unsure about any aspect of the installation, especially regarding wiring, seek professional help from a licensed electrician.
- Dimming capabilities: Consider choosing dimmable lights and compatible dimmers for added control over the lighting ambiance.
- Fire safety: Ensure proper clearance between the recessed light housing and insulation to prevent overheating and potential fire hazards. Follow manufacturer's recommendations and local building codes for minimum clearances.
- Building codes: Always adhere to your local building codes and obtain necessary permits if required before starting the installation.
- Safety precautions: Never attempt electrical work while the power is on. Use caution when working with sharp tools and wear appropriate safety gear.
- Troubleshooting: If you encounter any issues during installation, such as flickering lights or tripped breakers, stop immediately and consult a qualified electrician.
Beyond the Basics:
While this guide provides a comprehensive overview of installing recessed lighting, here are some additional considerations for a more advanced and customized setup:
- Multi-circuit lighting: Plan separate circuits for different groups of lights to allow for independent control and dimming.
- Smart lighting: Integrate smart bulbs or switches for voice control, scheduling, and creating different lighting scenes.
- Recessed lighting with speakers: Combine recessed lighting with built-in speakers for a seamless audio-visual experience.
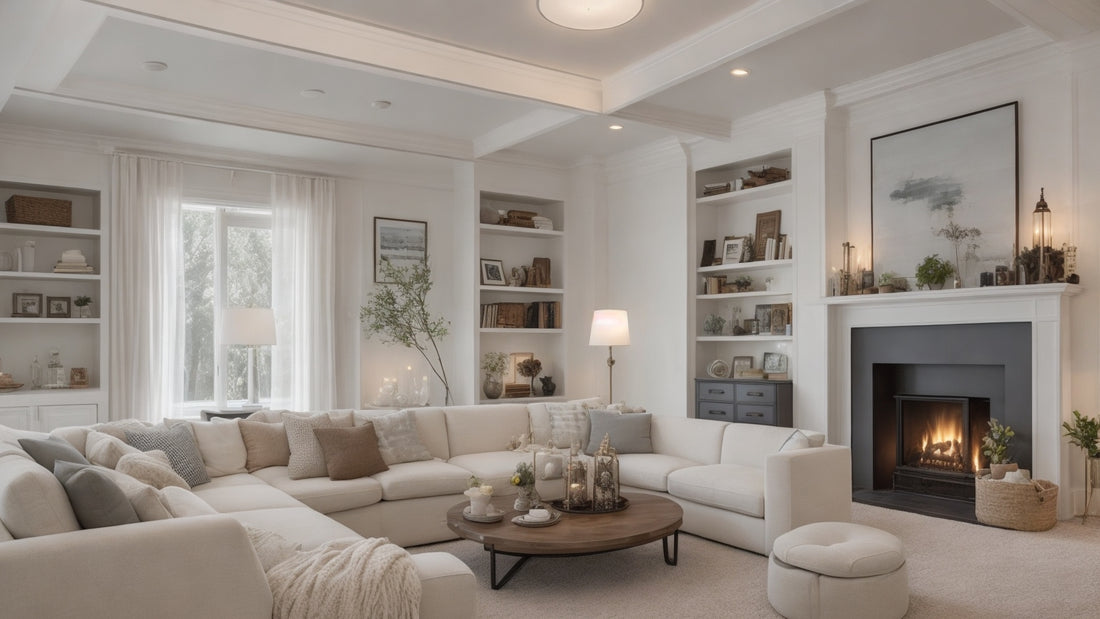
Also Read: The Most Elegant Ways to Decorate Your Lounge Room
Conclusion:
Installing recessed lighting can be a rewarding DIY project that enhances the functionality and aesthetics of your home. By following these steps, planning meticulously, and prioritizing safety, you can achieve professional-looking results. Remember, if you're unsure about any aspect of the installation, don't hesitate to seek help from a qualified electrician.
Bonus Tip:
Once your recessed lighting is installed, take advantage of its versatility to create different lighting effects:

- Layered lighting: Combine recessed lights with other lighting fixtures like pendant lights or sconces for a layered and visually interesting effect.
- Highlighting features: Use recessed lights to accentuate artwork, architectural details, or specific areas of the room.
- Task lighting: Focus recessed lights over kitchen counters, workspaces, or reading areas for optimal task lighting.
Read More: How to Decorate a Shelf with Style
By experimenting with different configurations and bulb types, you can personalize your lighting scheme and create a warm and inviting atmosphere in your home.